Things you'll need
- 2 layers of weed membrane
- Turf cutter or shovel
- Rake
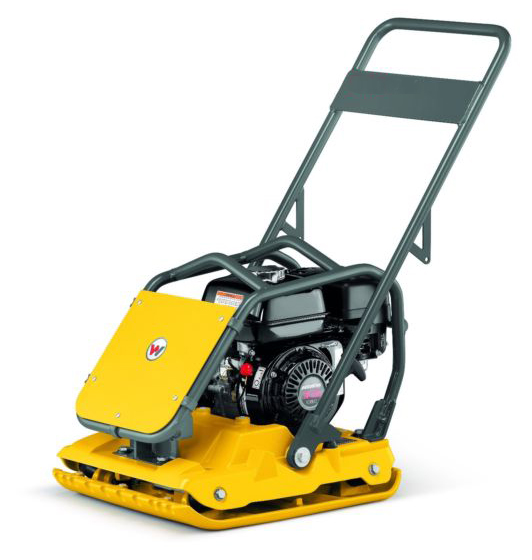
- Wacker plate or roller
- Sharp sand
- Type 1 aggregate
- Artificial grass to cover area required
- Toothed trowel
- Glue to join seams (only required where rolls of grass are to be joined)
- Joining tape (only required where rolls of grass are to be joined)
- Hammer
- Timber for base perimeter
- Electric screwdriver or staple gun
- Stanley knife with spare blades
- Exact measurements and quantities will be dependent on size of project. You may require a skip for the removal of turf and soil
Step 1: Remove existing turf
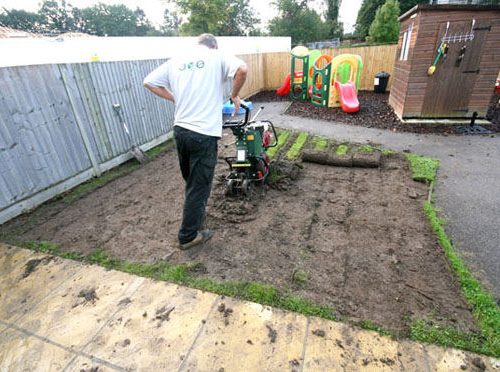
First things first, it is time to remove the existing turf and soil ready for the artificial grass base preparation, using either a turf cutter or shovel. The easiest way of doing this is by using a turf cutter which will strip away terrain easily. It is best to remove the turf to a depth of 2 – 3.5 inches. Free draining lawns will require a 2 inch base, whereas poor draining lawns will require a 3 to 3.5 inch base.
Step 2: Clear room for the sub base
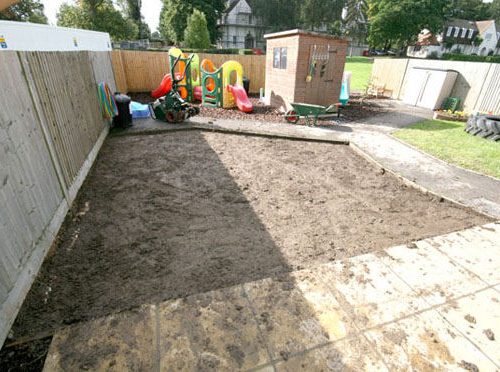
With all turf removed, the area is ready for the sub base to be installed. The area should be edged by a timber frame which provides a firm edge to hold the base material in place and a secure fixing point for the artificial grass. The timber edge should fitted approximately 10mm below the surrounding level, depending of the pile height of your chosen artificial grass.
Step 3: Prepare the weed membrane
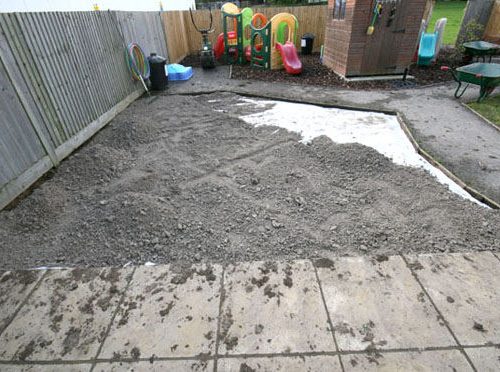
Install the first layer of geotextile weed membrane on top of the soil. This will prevent the sub base sinking into the mud. It is best to fill the area with Type 1, sometimes known as MOT (crushed stone) or Grano Dust.
Step 4: Level the area
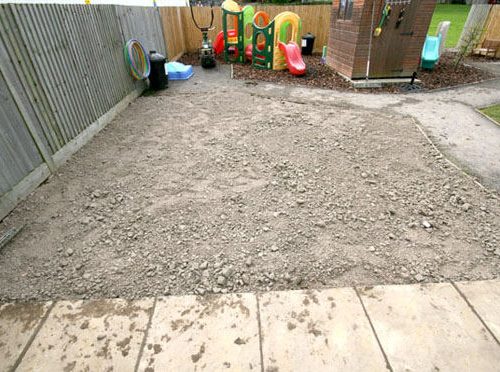
Make sure the Type 1 is evenly spread and smooth off any lumps with a rake. The Type 1 should be raked level with top of the timber perimeter edging and then compacted with a wacker plate.
Step 5: Compact layer of crushed stone
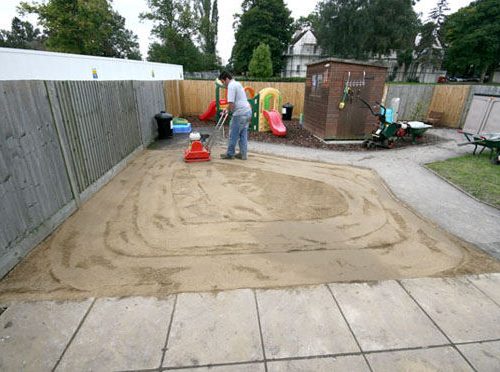
Using a wacker plate, make sure that all of the Type 1 is compacted to a smooth finish. This should lower the Type 1 to approximately 10mm below the top edge of the perimeter timber.
Step 6: Spread layer of sand
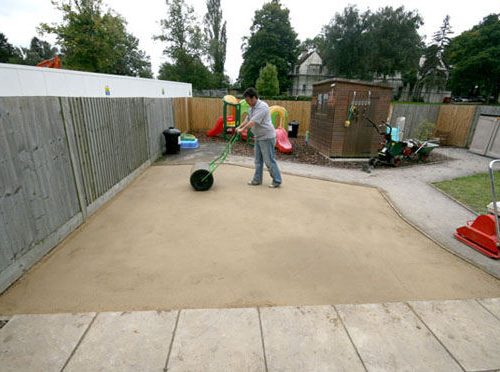
Now spread on the sharp sand and compact with a wacker plate or roller, screed off to a smooth finish level with the top of the timber edging. Note: when using Grano Dust no sharp sand is required so top of compacted surface should be level with top of timber edging.
Step 7: Second layer of weed membrane
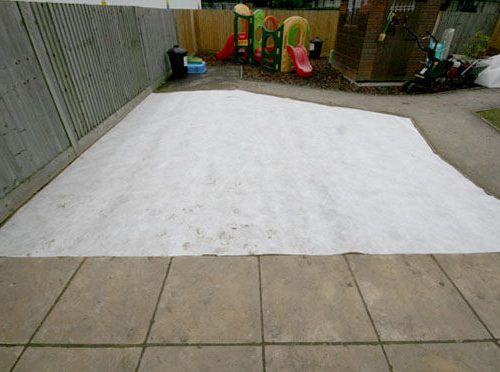
Install the second layer of geotextile weed membrane and secure to the top of the timber edging with screws or staples. This will prevent any weed growth. Use a Stanley knife to cut the membrane to the required layout.
Step 8: Install the artificial grass
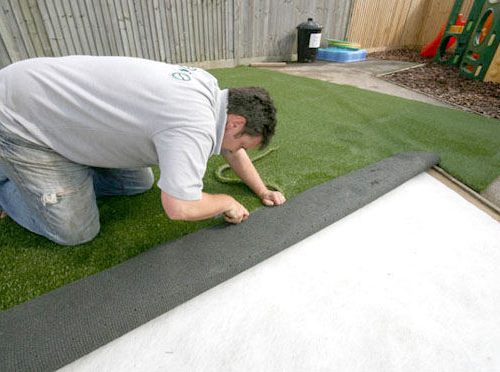
Lay the artificial grass out and leave to settle flat. Once you are happy that the grass is flat and settled, you can then cut it to shape using a sharp Stanley knife. Blades will need to be changed approximately every three metres of cutting.
Step 9: Neatly trim any joins
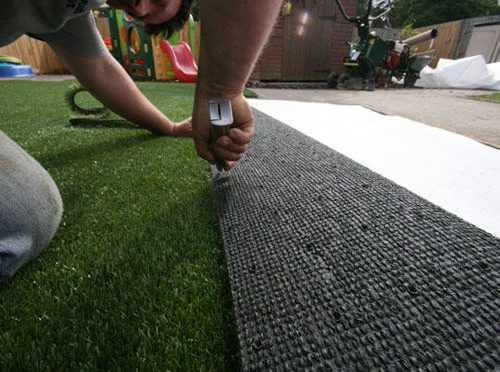
When joining two pieces of grass together, cut evenly down the stitch lines on each piece of grass. Butt the two pieces together and check the join. It is quite possible there is still some trimming to be done.
Step 10: Join turf edges together
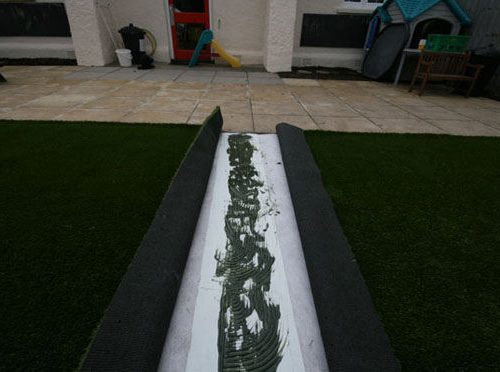
Once you are happy the two pieces of grass are butted up exactly, fold both pieces back and lay the joining tape (shiny side down) evenly between them. Apply the glue evenly to the middle 5 inches of the joining tape and spread with a toothed trowel. Carefully fold both pieces back and apply pressure to the join. Make sure the glue is not too thick or it will push through the join or the drainage holes. Carefully insert 1 screw either side of the join to ensure that the grass remain in place while edges are being trimmed.
Step 11: Secure edges down
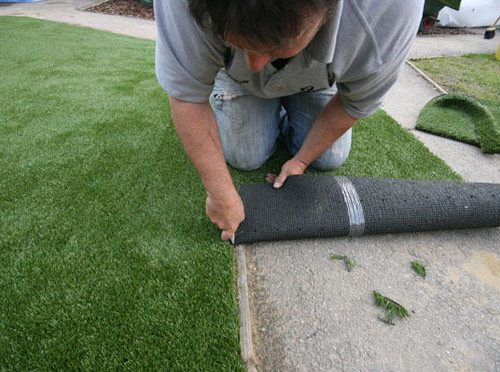
Now you can trim the edges. This is easiest done using a sharp Stanley knife. Change blades if required for better quality installation.
Once trimming is complete the artificial grass can be fixed to the timber perimeter, either by screwing or stapling. With either option please be sure to open the pile of the grass where the fixing is made to prevent damage or catching of pile. This should be done every 6 inches.
Finally it is time to ‘lift’ the pile which you can do with a leaf blower, power brush or by hand.
Step 12: Enjoy your new garden!
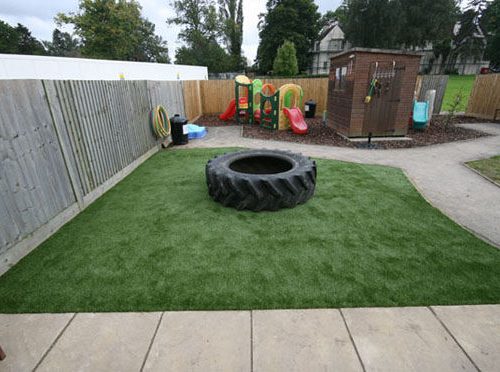
Once you have secured the borders, step back and admire your new garden. It may take a little time for the grass to acclimatise (sometimes we like to hurry the process along with a leaf blower!) but your garden is immediately ready to play on or just enjoy and will look fantastic for many years to come.

